


2026.4.21
How to Take Delicious Food Photos: Tips from FPA 2025 Winner & JDF Ambassador chunmacchi
If you’ve ever wondered how to make your home-cooked meals look as appetizing as professional food photography, the answer often comes down to a few thoughtful techniques.
chunmacch, Grand Prize winner of the FPA Professional Food Photography Awards 2025, is also a Jones Dairy Farm Japan ambassador and long-time creative collaborator. She is known for capturing the rich textures and quality of dishes made with premium ingredients like No Antibiotics Ever Pork Meatballs, Jones Dairy Farm bacon, and breakfast staples.
Read more about chunmacchi’s award.
This guide breaks down her key advice into simple, beginner-friendly tips you can start using today.
1. Preparation Starts Before Cooking
One of chunmacchi’s biggest insights is that great food photography begins before you even start cooking.
- Before preparing your dish, decide:
- – What you’re cooking (for example, a hearty breakfast featuring No Antibiotics Ever Pork Meatballs or crispy bacon)
- – The plate or serving dish
- – The background
- – Props and styling elements
- – The lighting direction
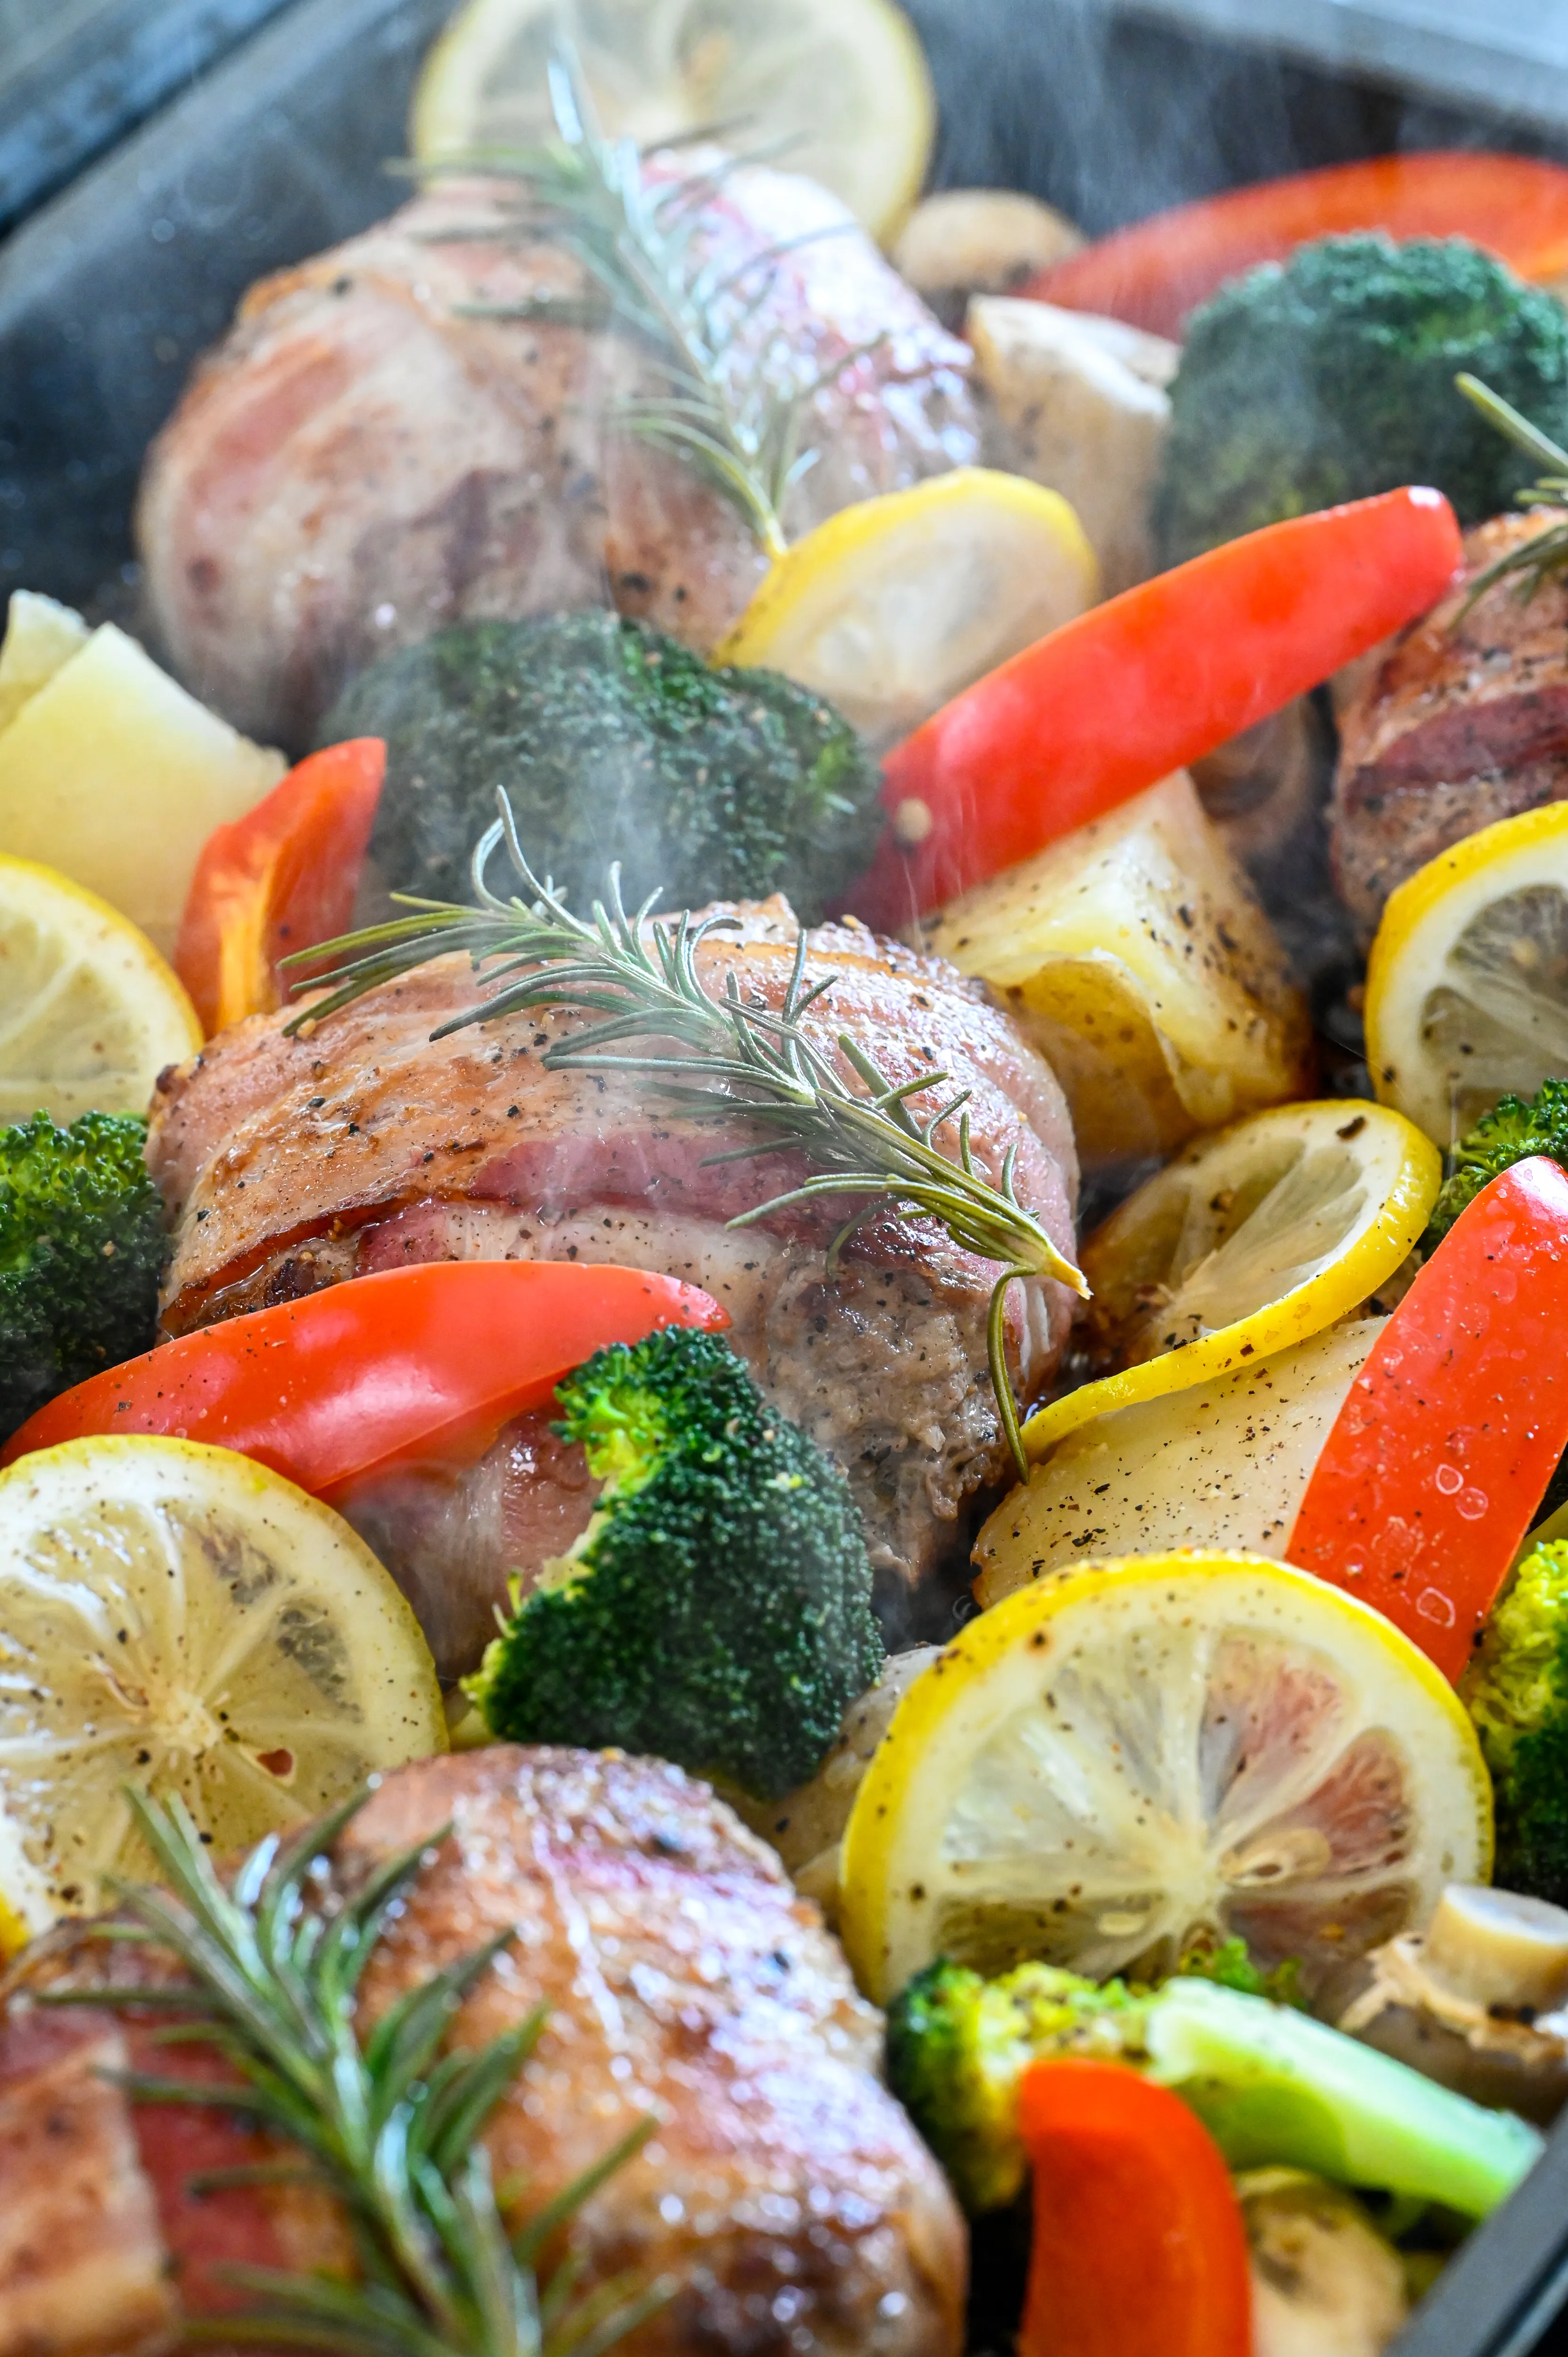
Set everything up in advance. This is especially important when working with freshly cooked foods, where timing is everything.
- There’s always a “perfect moment”:
- – Steam rising from hot food
- – A soft egg yolk breaking
- – A glossy sauce catching the light
These moments don’t last long, so preparation ensures you don’t miss them.
2. Lighting Is Everything
According to chunmacchi, lighting accounts for about 90% of a successful food photo.
It’s not about how bright the light is; it’s about where it comes from.
- Avoid:
-
– Shooting directly under overhead indoor lighting

- Instead:
- – Move your setup next to a window
-
– Use backlighting or slight backlighting
When light hits from behind the food, it:
- – Enhances shine on ingredients like bacon or glazed sauces
- – Adds depth and dimension
- – Creates a fresh, “just cooked” look
Think of sunlight reflecting off the ocean. That same effect can make your dishes look vibrant and alive.
3. Keep the Background Simple
Your dish should always be the focal point.
For everyday food photography, especially when highlighting quality ingredients like Jones Dairy Farm products, keep backgrounds simple and understated.
- Choose:
- – Neutral colors
- – Minimal props
- – Clean textures
- However, for seasonal or themed content, you can add more elements to tell a story:
- – Holiday settings like Christmas or Halloween
- – Casual brunch scenes
- – Party-style table settings
Food photography is not just about the dish itself, it’s about creating a mood and experience.
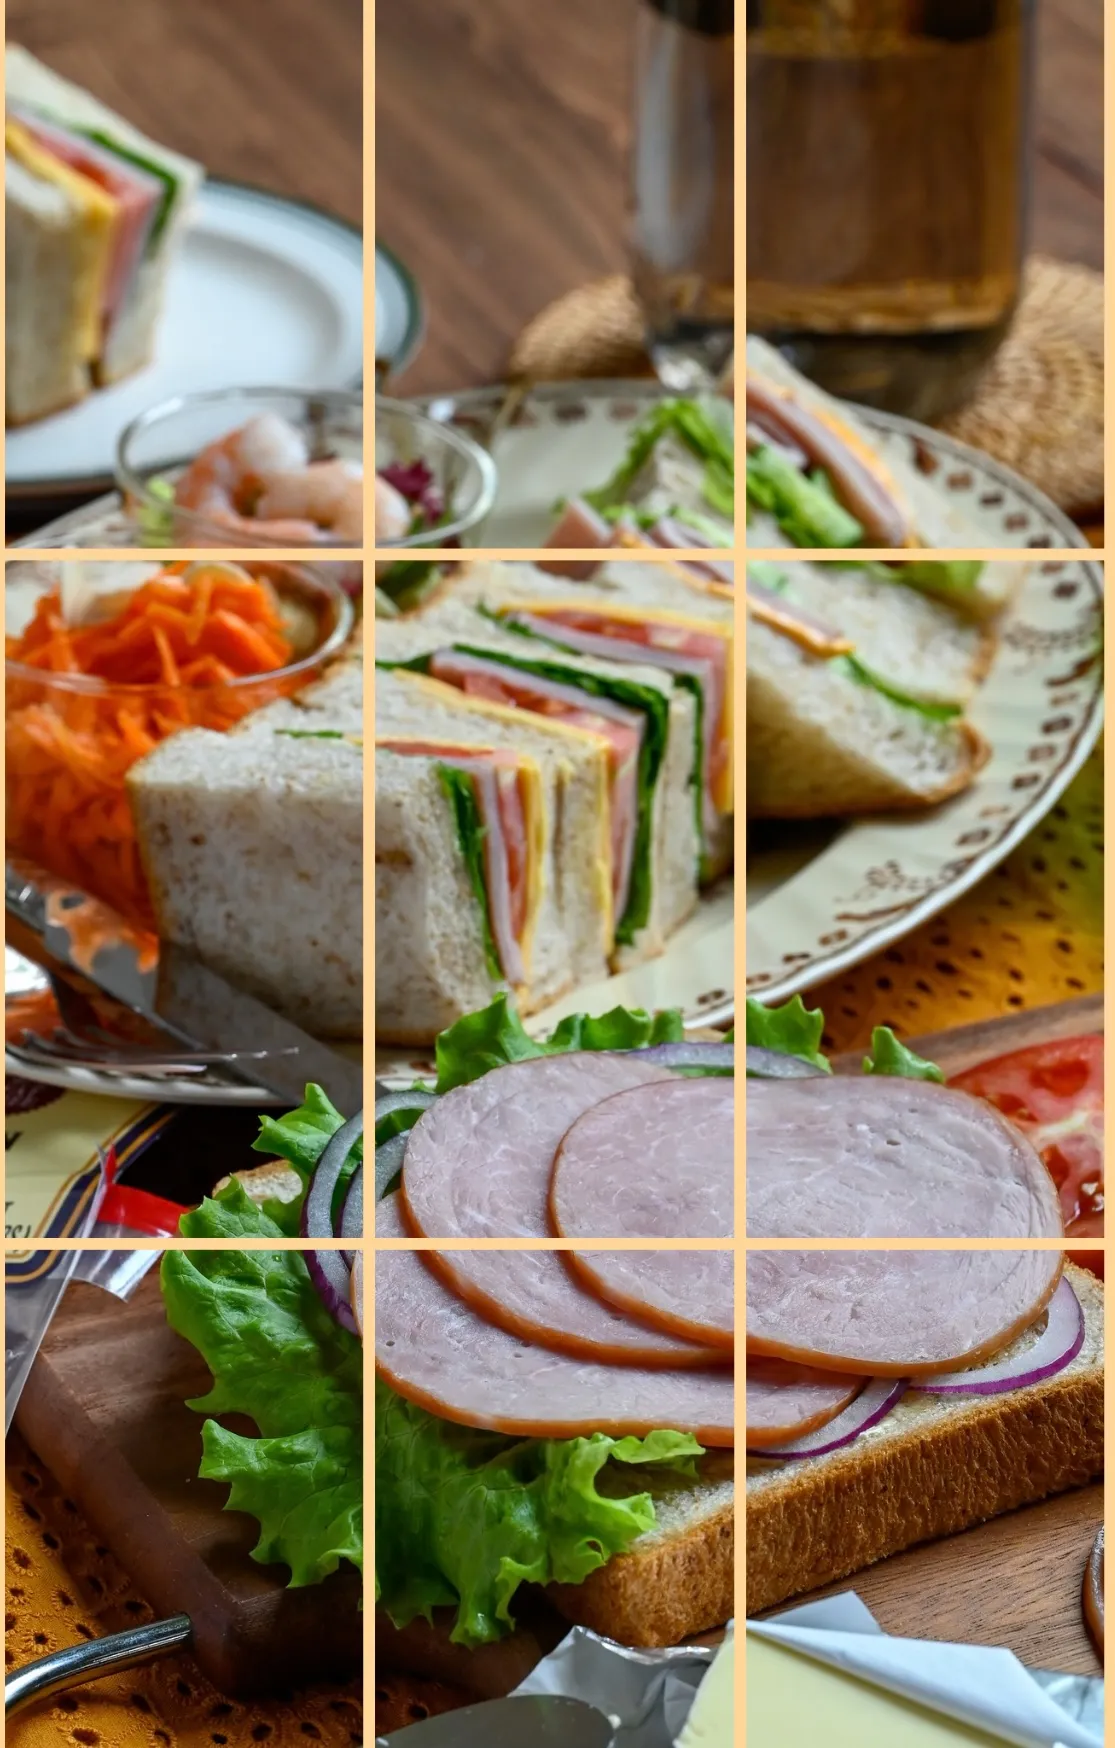
4. Plating Makes a Big Difference
How you arrange your food can dramatically impact how appetizing it looks.
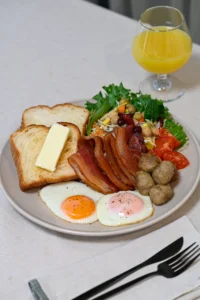
- Instead of placing everything flat:
- – Stack bacon slightly for dimension
- – Fluff salads to create volume
- – Angle bread or toast for height
Even small adjustments in height and layering make dishes look more dynamic and visually appealing.
This is especially effective when showcasing textures, like the crisp edges of bacon or the juicy interior of No Antibiotics Ever Pork Meatballs.
5. Use Simple Composition Techniques
If you’re new to food photography, start with these two reliable compositions:
- Center Composition (Hinomaru Style)
-
Place your subject in the center of the frame. This creates a clean, balanced image and is ideal for beginners or product-focused shots.
- Rule of Thirds
-
Divide your frame into three sections and position your subject along the lines or intersections. This creates a more natural and visually engaging layout.
- As you gain confidence, experiment with:
- – C-shaped compositions
- – S-shaped flow
These add movement and storytelling to your images.
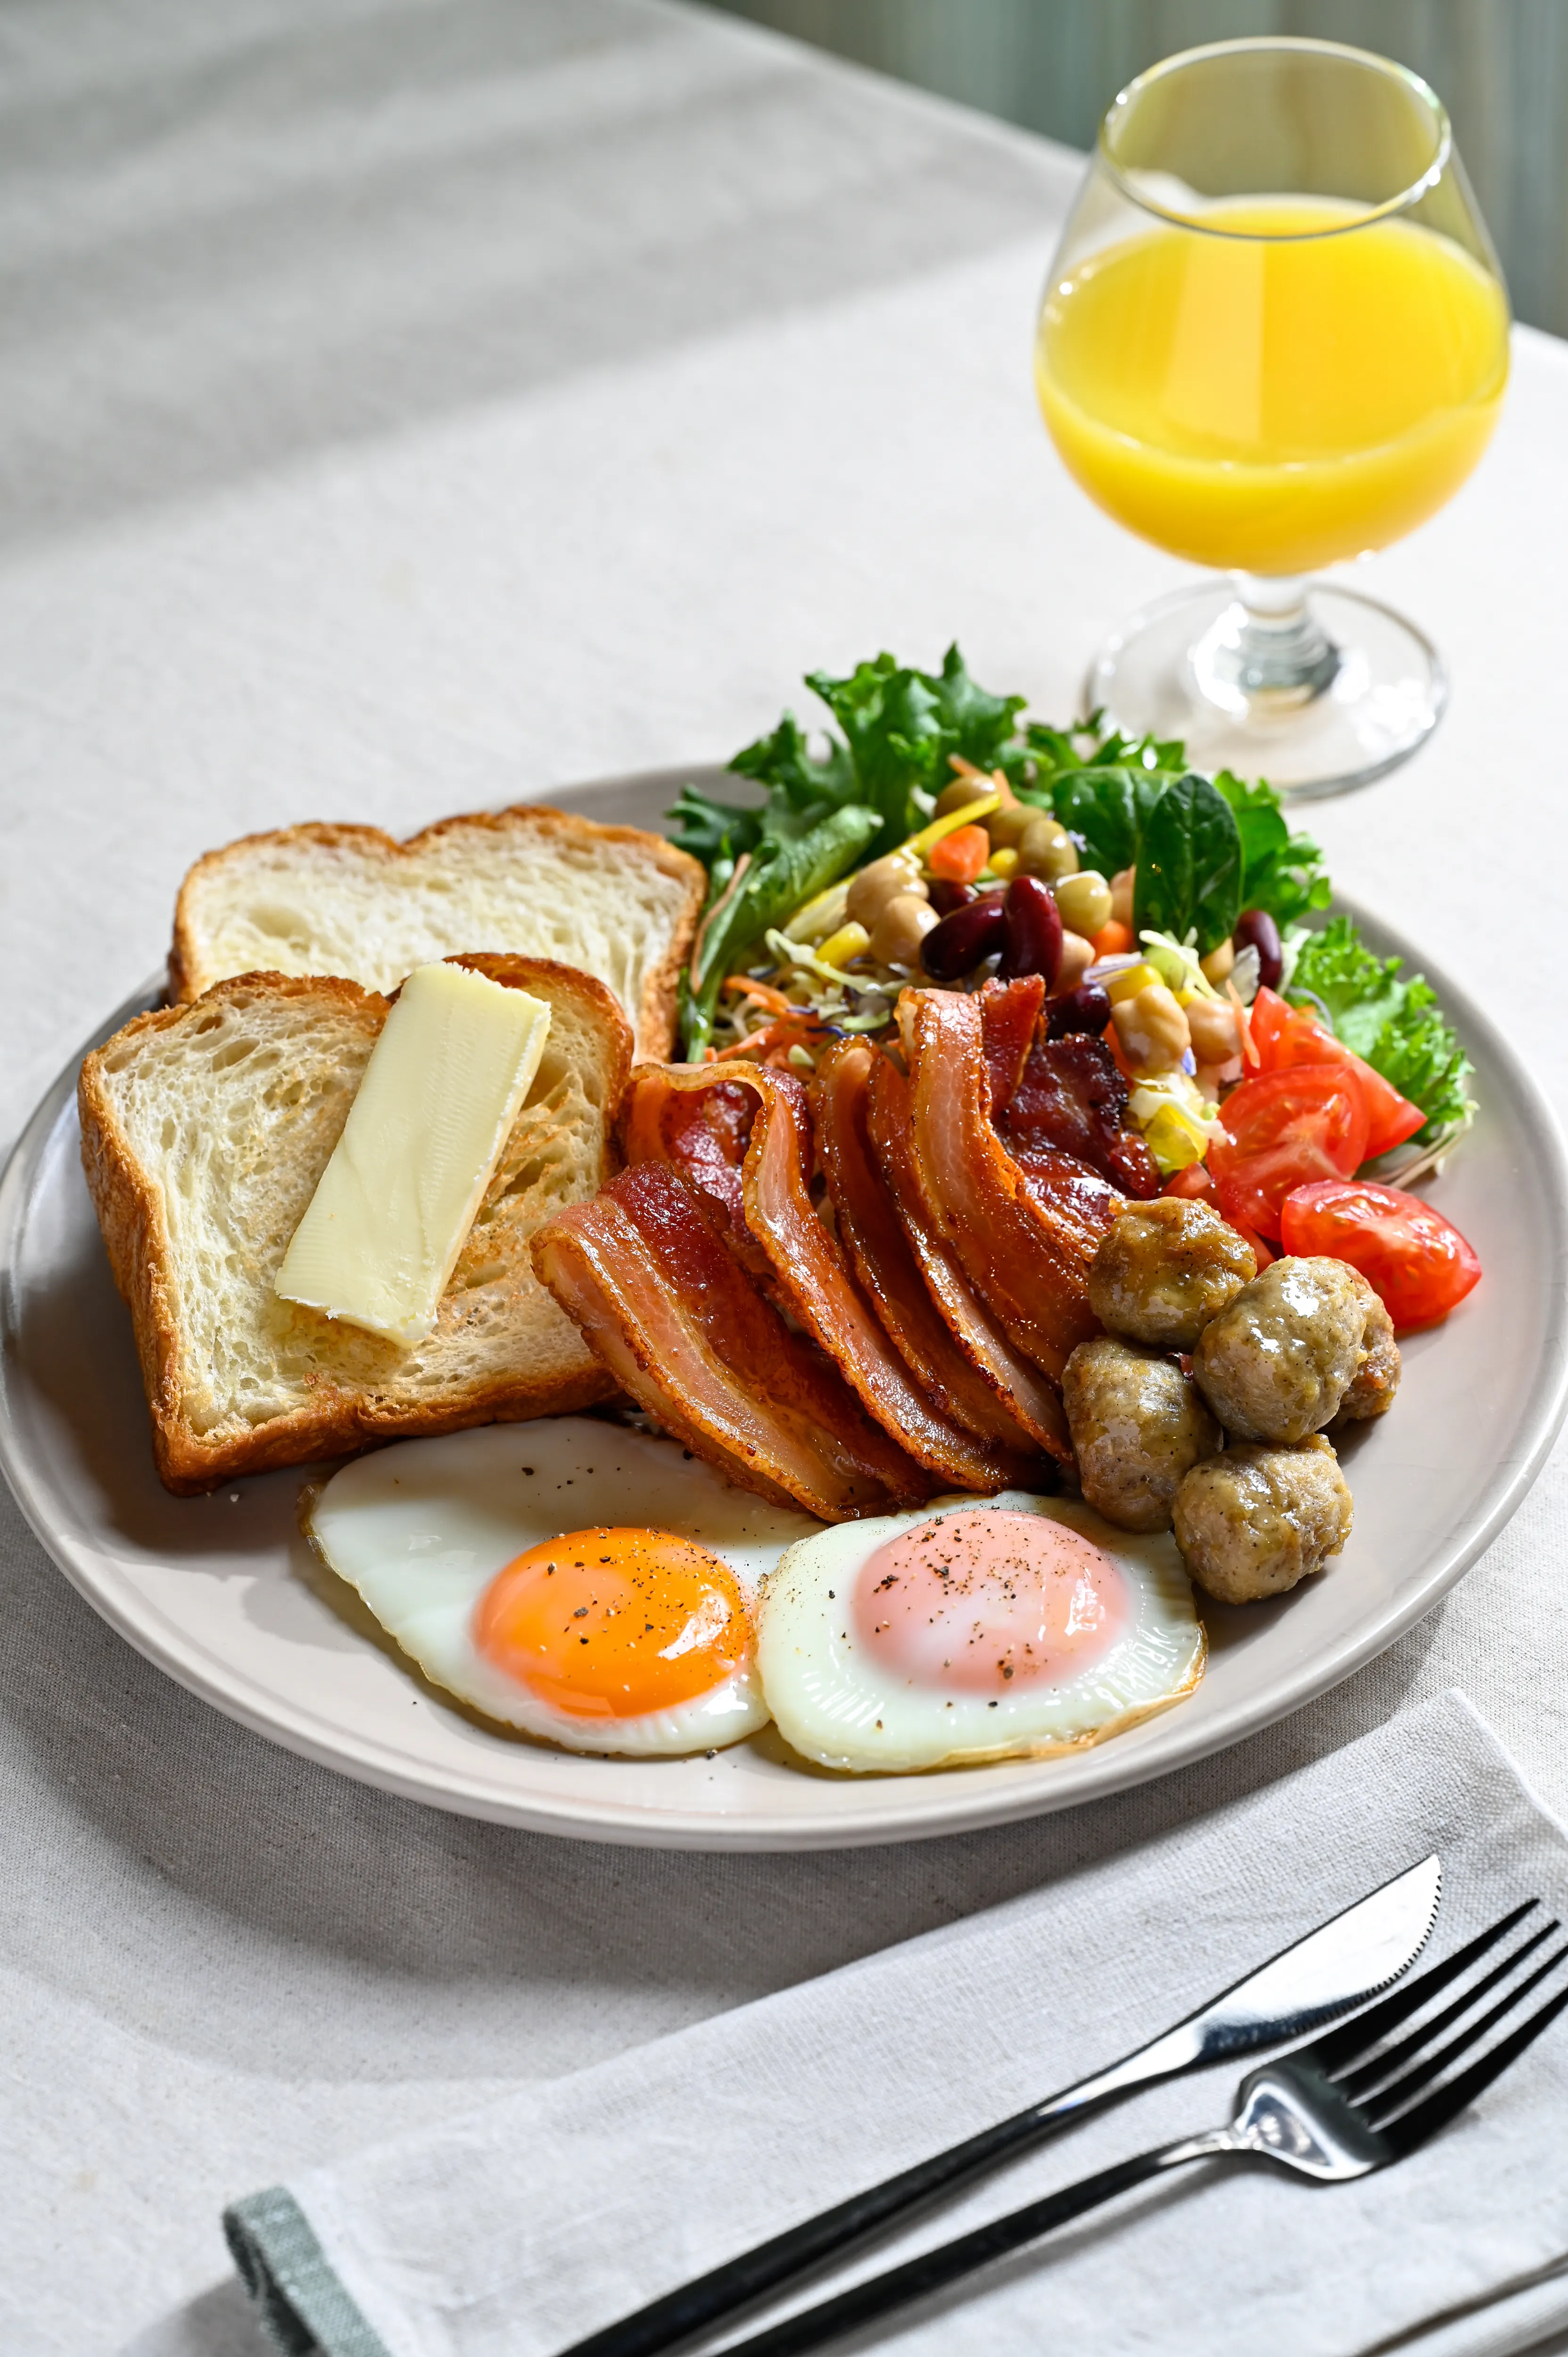
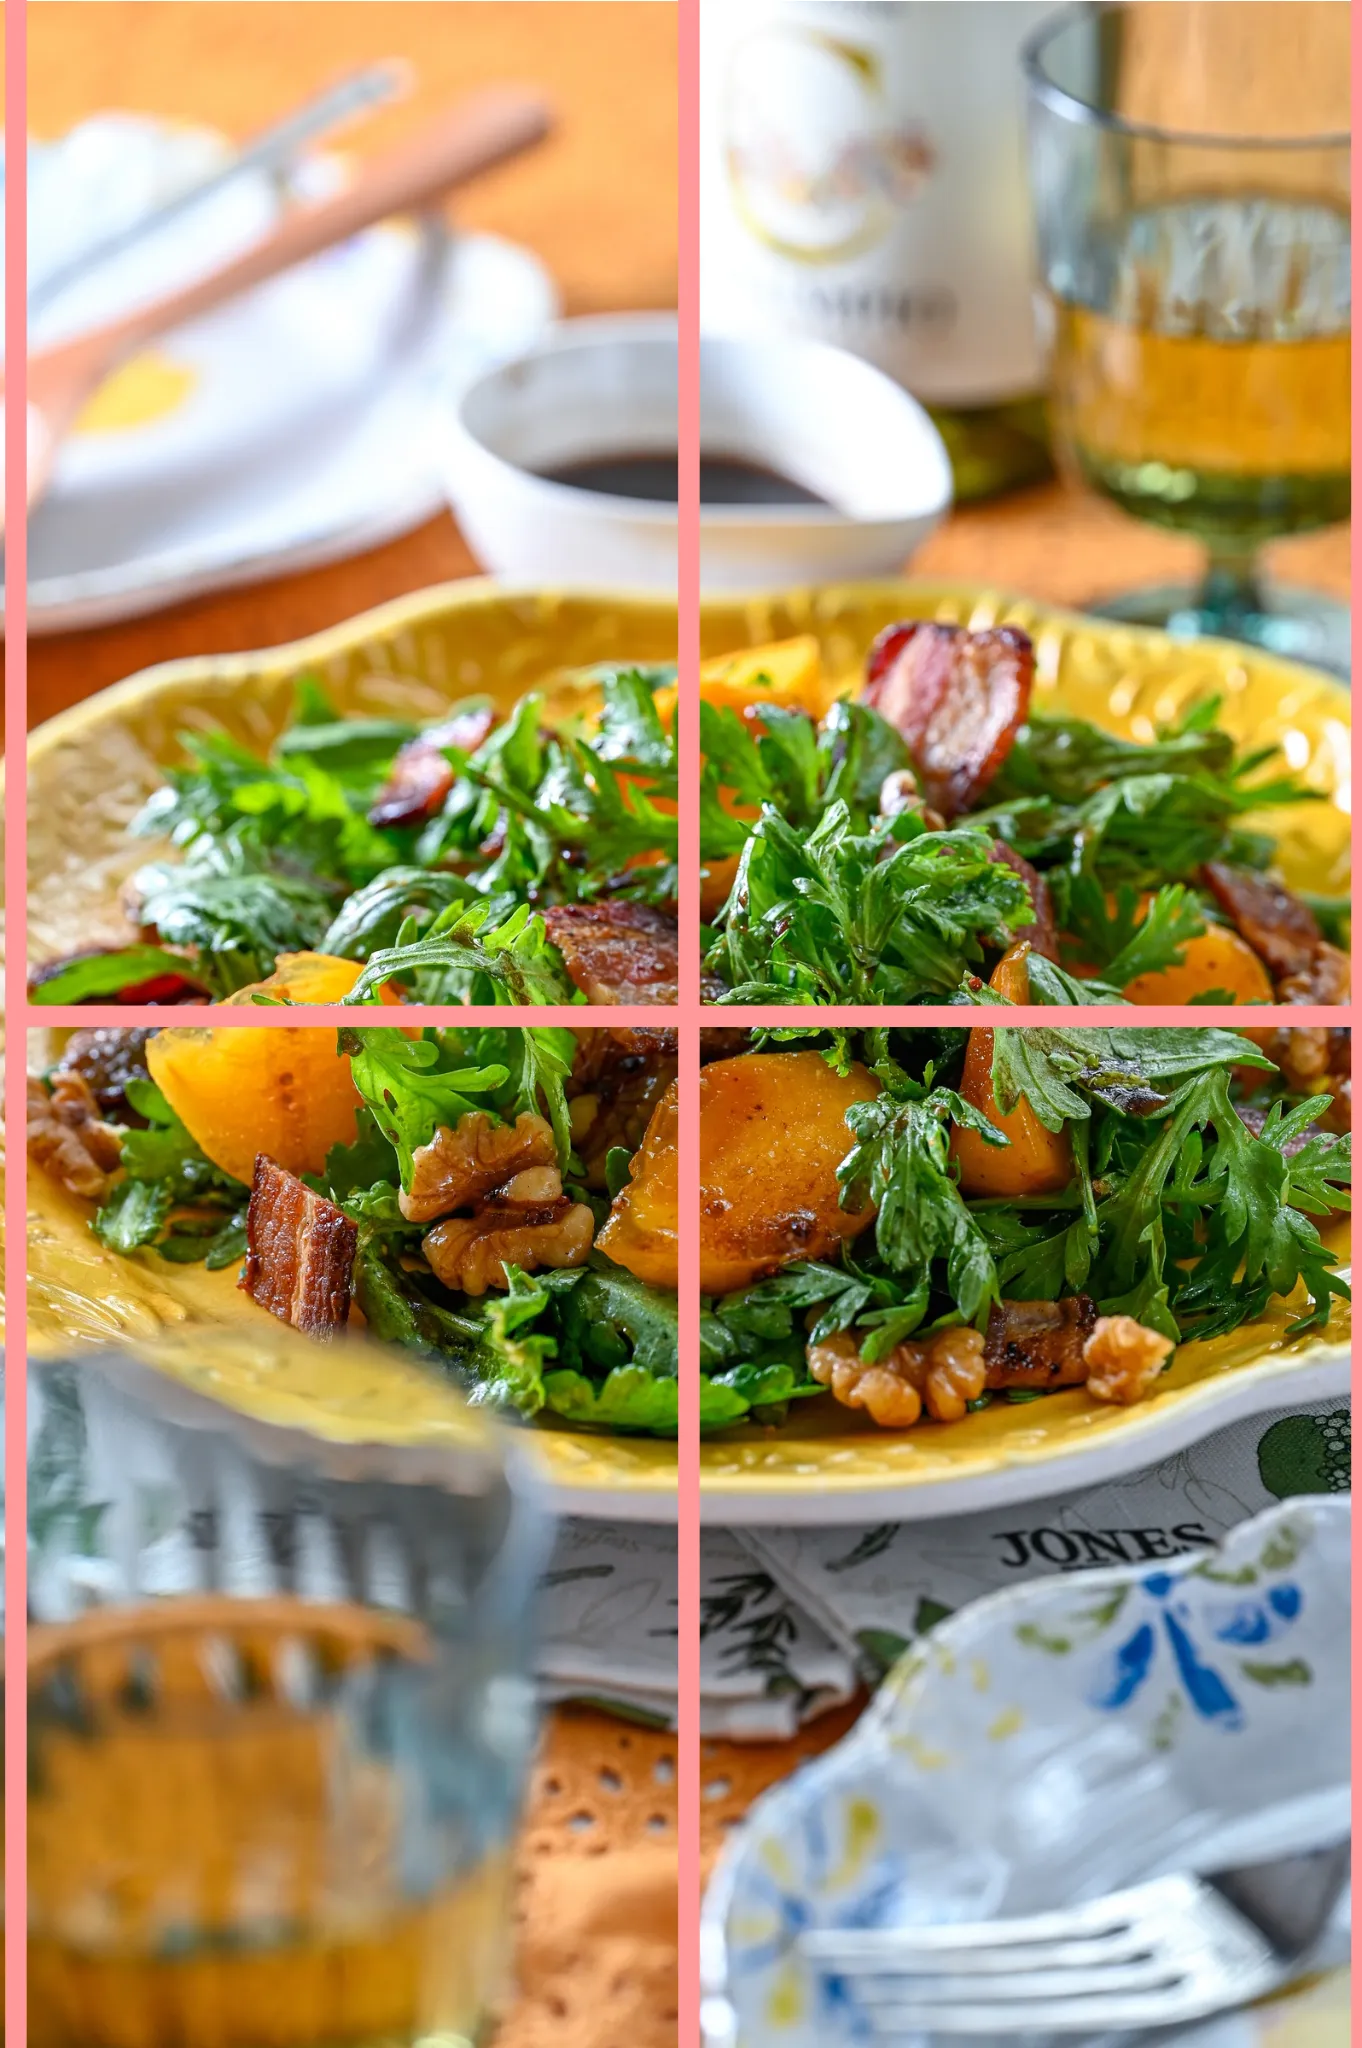
6. Find the Best Angle for Each Dish
A 45-degree angle from above is a great starting point because it captures both depth and detail.
- However, different dishes benefit from different angles:
- – Flat dishes or plates → shoot from directly above
- – Taller items like stacked breakfasts or cakes → shoot from the side
When photographing dishes made with premium ingredients, take the time to find the angle that best highlights their texture, structure, and freshness.
Final Thoughts: Capture What Looks Delicious to You
One of chunmacchi’s most important messages is simple:
You don’t need special talent to take great food photos.
What matters most is your ability to recognize and capture the moment that looks delicious to you.
That instinct is what brings authenticity and warmth to your photography, whether you’re shooting a simple breakfast or a styled dish featuring Jones Dairy Farm products.
FAQ
How can I take better food photos using my phone?
Use natural light whenever possible and tap to focus on your subject. Lower your exposure slightly to avoid overly bright images, and keep your lens clean. Grid lines can also help you frame your shot more neatly.
How do I take food photos in a restaurant with low lighting?
Try to sit near a light source like a window or warm ambient lighting. Avoid using flash, as it can create harsh reflections. Stabilizing your phone or camera can also help reduce blur in dim conditions.
How do I make my food photos look good for Instagram?
Keep your composition clean and consistent, use natural lighting, and stick to a simple color palette. Light editing, such as adjusting brightness and contrast, can help your photos stand out while still looking natural.
What time of day is best for food photography?
The best time is when natural light is soft and diffused, typically in the morning or late afternoon. Avoid harsh midday sunlight, which can create strong shadows and overexposed highlights.